# Challenge 04: Cognitive Services
⏲️ Est. time to complete: 10 min. ⏲️
# Here is what you will learn 🎯
In this challenge you will learn how to:
- create an Azure Cognitive Service
- analyze sentiment and opinions using the Azure Cognitive Service for Language
- use a contrainerized Cognitive Service
- make an API call from a Node.js application
# Table Of Contents
- What are Azure Cognitive Services?
- Create a Cognitive Service
- Analyze Sentiment
- (OPTIONAL) Containerize the Cognitive Service
- (OPTIONAL) Use Azure Text Analytics in a Web Application
- (OPTIONAL) Use Postman to understand all features
- Cleanup
# What are Azure Cognitive Services?
Azure Cognitive Services:
- are APIs, SDKs and services available to help developers build intelligent applications without having direct Artificial Intelligence (AI), data science skills or knowledge.
- enable developers to easily add cognitive features into their applications.
The goal of Azure Cognitive Services is to help developers create applications that can see, hear, speak, understand and even begin to reason. These services can be categorized into six main pillars - Vision, Speech, Language, Web Search, Decision and Open AI.
We offer a separate training that will go into greater depth also covering Azure Machine Learning Services and MLOps - reach out to us if you are interested. Today we will focus on one Feature of the Azure Cognitive Service for Language to consolidate the understanding of these services. The Azure Cognitive Service for Language has many more features that work very similarly and other Azure Cognitive Services work with the same concepts.
| Service Name | Service Description | Feature Name | Feature Description |
|---|---|---|---|
| Azure Cognitive Service for Language (opens new window) | Provide natural language processing over raw text for understanding and analyzing text. | Sentiment Analysis and Opinion Mining (opens new window) | Extract the sentiment of text and associate positive and negative sentiment with specific aspects of the text. |
# Create a Cognitive Service
We are going to start off by creating an Azure Cognitive Service using the Azure CLI.
- First we will create a new resource group. Enter the following in your terminal:
az group create -n rg-azdc-cognitive -l westeurope - When creating the Cognitive Service itself you have two choices. You can either create a multi-service resource or a single-service resource. The multi-service resource gives you access to multiple Azure Cognitive Services with a single key and endpoint. The Single-service resource will allow you to access a single Azure Cognitive Service with a unique key and endpoint.
Since we will only use the Cognitive Service for Language in this challenge we will create a single-service resource.
az cognitiveservices account create --name cog-textanalytics-westeurope-001 --resource-group rg-azdc-cognitive --kind TextAnalytics --sku S --location westeurope --yes
# Analyze Sentiment and Opinions
We are going to create a simple node application to test the service.
Create a new folder on your local machine, where the project will reside later on. Name it
TextAnalytics.mkdir TextAnalyticsNavigate to the newly created Folder.
cd TextAnalyticsCreate a node application with a package.json file. Accept all defaults.
npm initAnd install the client library
npm install @azure/ai-text-analytics@5.1.0Now open the application in VS Code.
code .Create a new
sentiment.jsfile and add the following code:"use strict"; const { TextAnalyticsClient, AzureKeyCredential } = require("@azure/ai-text-analytics"); const key = '<API-KEY>'; const endpoint = 'https://westeurope.api.cognitive.microsoft.com/'; // Authenticate the client with your key and endpoint const textAnalyticsClient = new TextAnalyticsClient(endpoint, new AzureKeyCredential(key)); // Example method for detecting sentiment in text async function sentimentAnalysis(client){ const sentimentInput = [ "I had the best day of my life. I wish you were there with me." ]; const sentimentResult = await client.analyzeSentiment(sentimentInput); sentimentResult.forEach(document => { console.log(`ID: ${document.id}`); console.log(`\tDocument Sentiment: ${document.sentiment}`); console.log(`\tDocument Scores:`); console.log(`\t\tPositive: ${document.confidenceScores.positive.toFixed(2)} \tNegative: ${document.confidenceScores.negative.toFixed(2)} \tNeutral: ${document.confidenceScores.neutral.toFixed(2)}`); console.log(`\tSentences Sentiment(${document.sentences.length}):`); document.sentences.forEach(sentence => { console.log(`\t\tSentence sentiment: ${sentence.sentiment}`) console.log(`\t\tSentences Scores:`); console.log(`\t\tPositive: ${sentence.confidenceScores.positive.toFixed(2)} \tNegative: ${sentence.confidenceScores.negative.toFixed(2)} \tNeutral: ${sentence.confidenceScores.neutral.toFixed(2)}`); }); }); } sentimentAnalysis(textAnalyticsClient) // Example method for detecting opinions in text async function sentimentAnalysisWithOpinionMining(client){ const sentimentInput = [ { text: "The food and service were unacceptable, but the concierge were nice", id: "0", language: "en" } ]; const results = await client.analyzeSentiment(sentimentInput, { includeOpinionMining: true }); for (let i = 0; i < results.length; i++) { const result = results[i]; console.log(`- Document ${result.id}`); if (!result.error) { console.log(`\tDocument text: ${sentimentInput[i].text}`); console.log(`\tOverall Sentiment: ${result.sentiment}`); console.log("\tSentiment confidence scores:", result.confidenceScores); console.log("\tSentences"); for (const { sentiment, confidenceScores, opinions } of result.sentences) { console.log(`\t- Sentence sentiment: ${sentiment}`); console.log("\t Confidence scores:", confidenceScores); console.log("\t Mined opinions"); for (const { target, assessments } of opinions) { console.log(`\t\t- Target text: ${target.text}`); console.log(`\t\t Target sentiment: ${target.sentiment}`); console.log("\t\t Target confidence scores:", target.confidenceScores); console.log("\t\t Target assessments"); for (const { text, sentiment } of assessments) { console.log(`\t\t\t- Text: ${text}`); console.log(`\t\t\t Sentiment: ${sentiment}`); } } } } else { console.error(`\tError: ${result.error}`); } } } sentimentAnalysisWithOpinionMining(textAnalyticsClient)Before you can run the code you need to add your Azure Text Analytics Service key in it. You can obtain this information by running the following command:
az cognitiveservices account keys list --name cog-textanalytics-westeurope-001 --resource-group rg-azdc-cognitiveSave the changes and run the code.
node sentiment.js
The result is measured as positive if it's scored closer to 1.0 and negative if it's scored closer to 0.0. The sentiment scores are also associated with different targets within the given text. This result is returned in JSON, as you can see here:
ID: 0
        Document Sentiment: positive
        Document Scores:
                Positive: 1.00  Negative: 0.00  Neutral: 0.00
        Sentences Sentiment(2):
                Sentence sentiment: positive
                Sentences Scores:
                Positive: 1.00  Negative: 0.00  Neutral: 0.00
                Sentence sentiment: neutral
                Sentences Scores:
                Positive: 0.21  Negative: 0.02  Neutral: 0.77

- Document 0
        Document text: The food and service were unacceptable, but the concierge were nice
        Overall Sentiment: positive
        Sentiment confidence scores: { positive: 0.84, neutral: 0, negative: 0.16 }
        Sentences
        - Sentence sentiment: positive
          Confidence scores: { positive: 0.84, neutral: 0, negative: 0.16 }
          Mined opinions
                - Target text: food
                  Target sentiment: negative
                  Target confidence scores: { positive: 0.01, negative: 0.99 }
                  Target assessments
                        - Text: unacceptable
                          Sentiment: negative
                - Target text: service
                  Target sentiment: negative
                  Target confidence scores: { positive: 0.01, negative: 0.99 }
                  Target assessments
                        - Text: unacceptable
                          Sentiment: negative
                - Target text: concierge
                  Target sentiment: positive
                  Target confidence scores: { positive: 1, negative: 0 }
                  Target assessments
                        - Text: nice
                          Sentiment: positive
# (OPTIONAL) Containerize the Cognitive Service
Most Cognitive Services can be run from a container. In this case the sentiment analysis container is available. The advantage of containerization of Cognitive Services usually lie in security or data governance requirements. This way you can run the service on your own infrastructure and only billing information will be sent against the Cognitive Service. An Azure Cognitive Service needs to reside in your Subscription to take this billing information. Since we already deployed one in the previous steps we can go ahead. Should you not have Docker Desktop installed don't worry, you can install it from here (opens new window).
If you have Docker Desktop installed and running download the English container:
docker pull mcr.microsoft.com/azure-cognitive-services/textanalytics/sentiment:3.0-enBefore we can run the container we need to get the API key again.
az cognitiveservices account keys list --name cog-textanalytics-westeurope-001 --resource-group rg-azdc-cognitiveThis information needs to be added to the
docker runcommand:docker run --rm -it -p 5000:5000 --memory 8g --cpus 1 mcr.microsoft.com/azure-cognitive-services/textanalytics/sentiment:3.0-en Eula=accept Billing=https://westeurope.api.cognitive.microsoft.com/ ApiKey={API_KEY}The prediction endpoint APIs will be available under
http://localhost:5000after about a minute. You can easily try out different options by navigating to the full documentation of the endpoints:http://localhost:5000/swaggerFor example select the
POST /text/analytics/v3.0/sentiment, pressTry it outand add the same sentence as before to the body:{ "documents": [ { "id": "1", "language": "en", "text": "The food and service were unacceptable, but the concierge were nice." } ] }Beneath select
application/jsonfor theParameter content type. PressExecute. You should get a server response with the code 200 and the sentiment in the response body. Try out more options if you feel like it.
# (OPTIONAL) Use Azure Text Analytics in a Web Application
In the next part we integrate the API into a Node.js web app. This is optional.
First create a simple Node.js app using the Express Generator. This should be installed by default with Node.js and NPM, otherwise it will install the package during the process. Navigate to a directory you want the folder to be in.
npx express-generator TextAnalyticsApp --view pugNavigate into the project folder:
cd TextAnalyticsAppOpen the code of the application in VS Code.
code .Navigate to
views/index.pugand replace the code with the following:extends layout block content h1 Azure Cognitive Service p Get the Sentiment of the Sentences you type in using the Azure Cognitive Service. form(action='/', method='POST') input(type="text", name="sentence", placeholder="I really like the new XBox but I just don't have enough time to use it.") input(type="submit", value="Analyze") div(style="width: 100%") p= sentence div(style=`background-color: red; width:${negative1}`) p(style="color: white;")= negative1 div(style=`background-color: orange; width:${neutral1}`) p(style="color: white;")= neutral1 div(style=`background-color: green; width:${positive1}`) p(style="color: white;")= positive1Watch out for the indentation since the application will through an error otherwise.
Finally replace the code in the
routes/index.jsfile with the following Node.js code:const apikey = '<Text Analytics API Key>'; const endpoint = 'https://westeurope.api.cognitive.microsoft.com/'; var express = require('express'); var bodyParser = require('body-parser'); var router = express.Router(); var analyzetext = []; const { TextAnalyticsClient, AzureKeyCredential } = require("@azure/ai-text-analytics"); router.get('/', function (req, res, next) { res.render('index', { title: 'Azure Text Analytics Service' }); }); router.post('/', function (req, res) { router.use(bodyParser.urlencoded({ extended: true })); router.use(bodyParser.json()); console.log(req.body.sentence); var sentencetext = req.body.sentence; analyze(sentencetext); async function analyze(sentencetext) { analyzetext = []; analyzetext.push(sentencetext); const client = new TextAnalyticsClient(endpoint, new AzureKeyCredential(apikey)); const results = await client.analyzeSentiment(analyzetext); for (let i = 0; i < results.length; i++) { const result = results[i]; if (!result.err) { var negative1 = result.confidenceScores.negative * 100; var neutral1 = result.confidenceScores.neutral * 100; var positive1 = result.confidenceScores.positive * 100; } else { console.error(` Error: ${result.error}`); } } res.render('index', { sentence: "Sentiment of the following sentence: " + sentencetext, positive1: positive1 + "%", neutral1: neutral1 + "%", negative1: negative1 + "%" }); } }) module.exports = router;Replace the
<Text Analytics API Key>in line 1 of the index.js file awith the API Key of your Cognitive Service. If you need to get it again:az cognitiveservices account keys list --name cog-textanalytics-westeurope-001 --resource-group rg-azdc-cognitiveSave the changes.
Some additional NPM packages need to be installed:
npm installIf not already installed make sure to install the text analytics package:
npm install @azure/ai-text-analyticsFinally you can start the application:
npm startYou can have a look at it in your browser
http://localhost:3000. If everything is working well, it will look like this.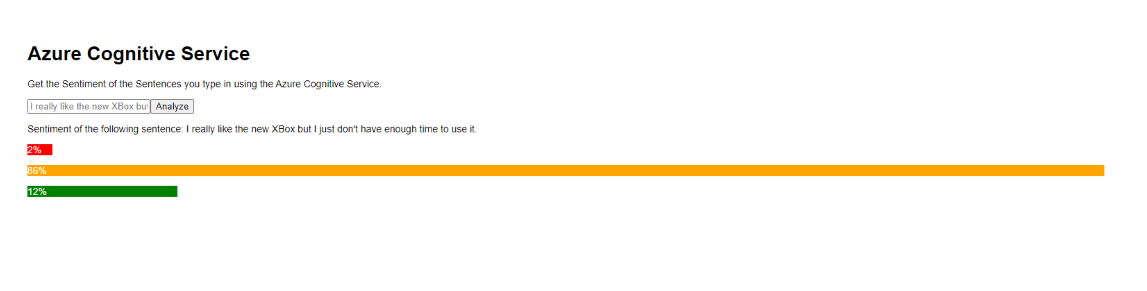
# (OPTIONAL) Use Postman to understand all features
As shown before the Azure Cognitive Services consist of a wide range of REST APIs. There are multiple options to explore these APIs. Let's have a look at two prominent ones.
# Option 1: Microsoft Test Console
On this website (opens new window) Microsoft offers a detailed description of the Azure Cognitive Services and the APIs that can be used.
Here (opens new window) is a detailed overview of the Text Analytics API (v3.1) and its Sentiment POST request. This shows all the details, the request URL, parameters, headers, body and what responses will be returned.
Try out the console (opens new window) with the key of the existing Azure Cognitive Service cog-textanalytics-westeurope-001. If you have not stored it somewhere, here is the needed command again:
shell az cognitiveservices account keys list --name cog-textanalytics-westeurope-001 --resource-group rg-azdc-cognitive
For Host Name choose westeurope.api.cognitive.microsoft.com.
Delete all Query parameters except of opinionMining and there enter true.
Leave the Header as is.
The Ocp-Apim-Subscription-Key is the key mentioned above.
In the Request body cou can change the language and the text you want to be analyzed.
Finally hit Send. In the Response content you will find the returned results.
# Option 2: Postman
You will need Postman (opens new window) for this part. Postman is an API platform which allows you to develop and test different APIs. Since the Azure Cloud Platform consists out of many APIs this tool is perfect to get a deeper understanding of its functionalities.
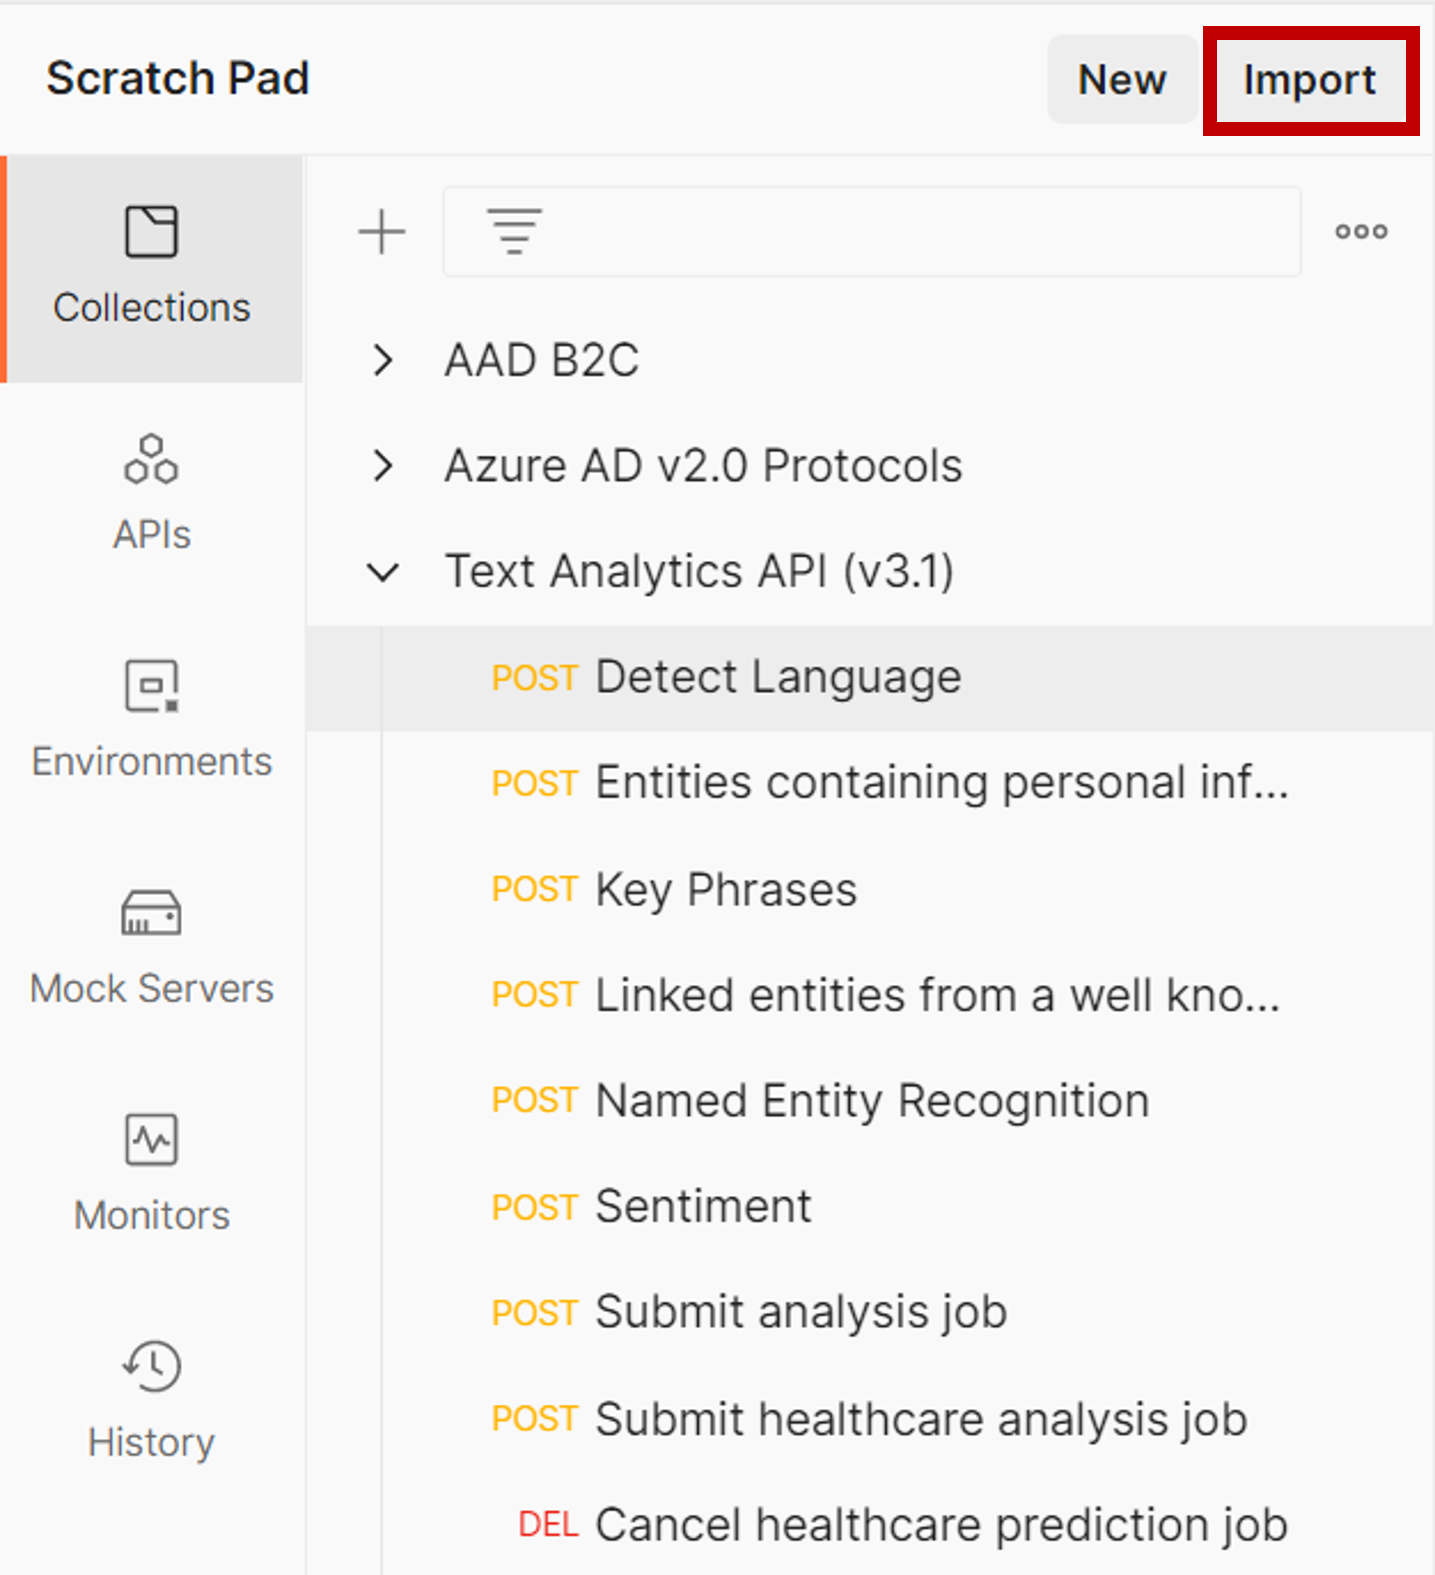
We have created a Postman collection for you. Upload the collection you find in the ./postman folder of this repository to the desktop application by selecting Import.
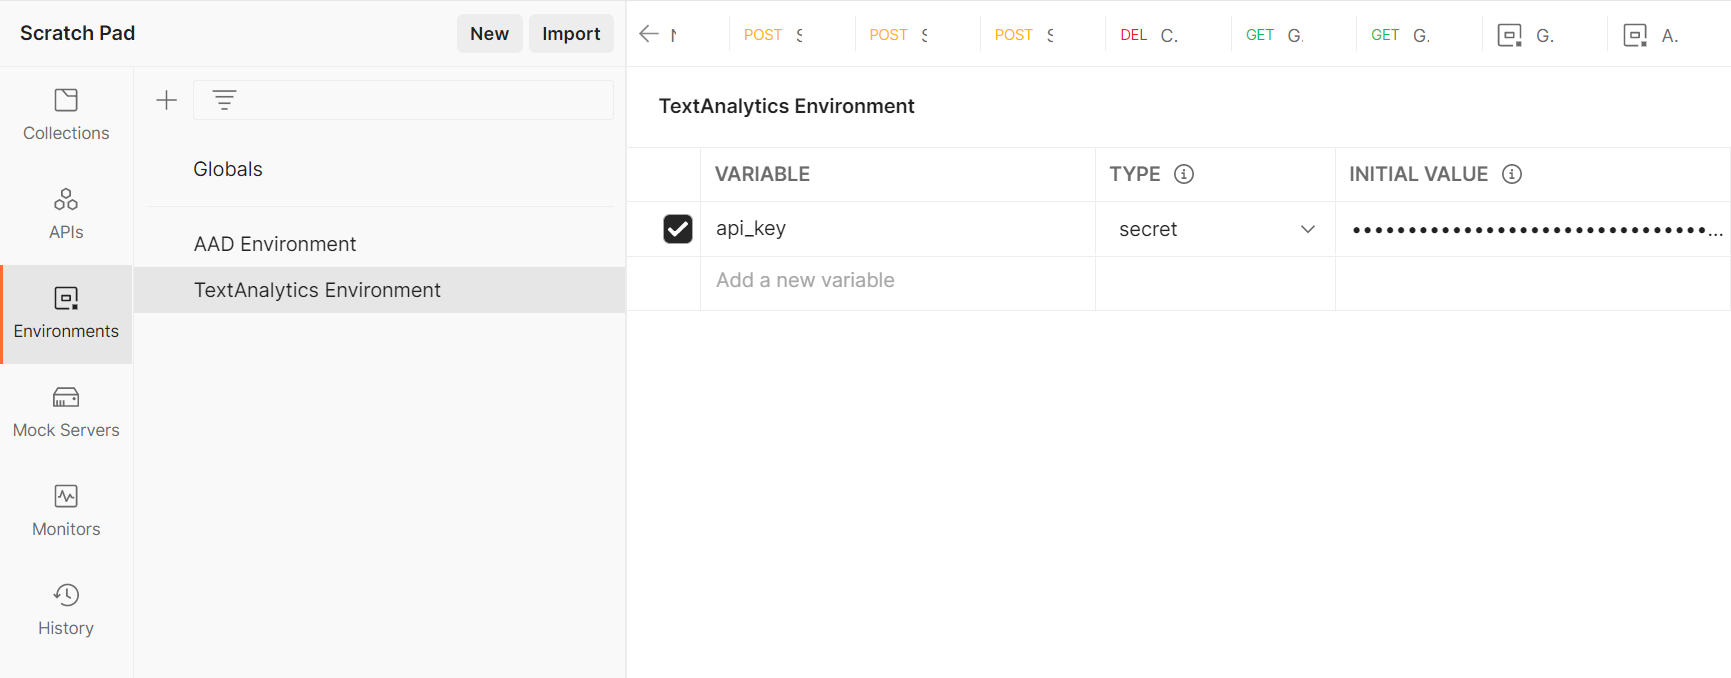
Before you can send any of the requests you either need to set up an environment containing a variable named api-key with the value of the API Key of your Cognitive Service. After doing so, you need to assign the created environment to your collection as shown below. 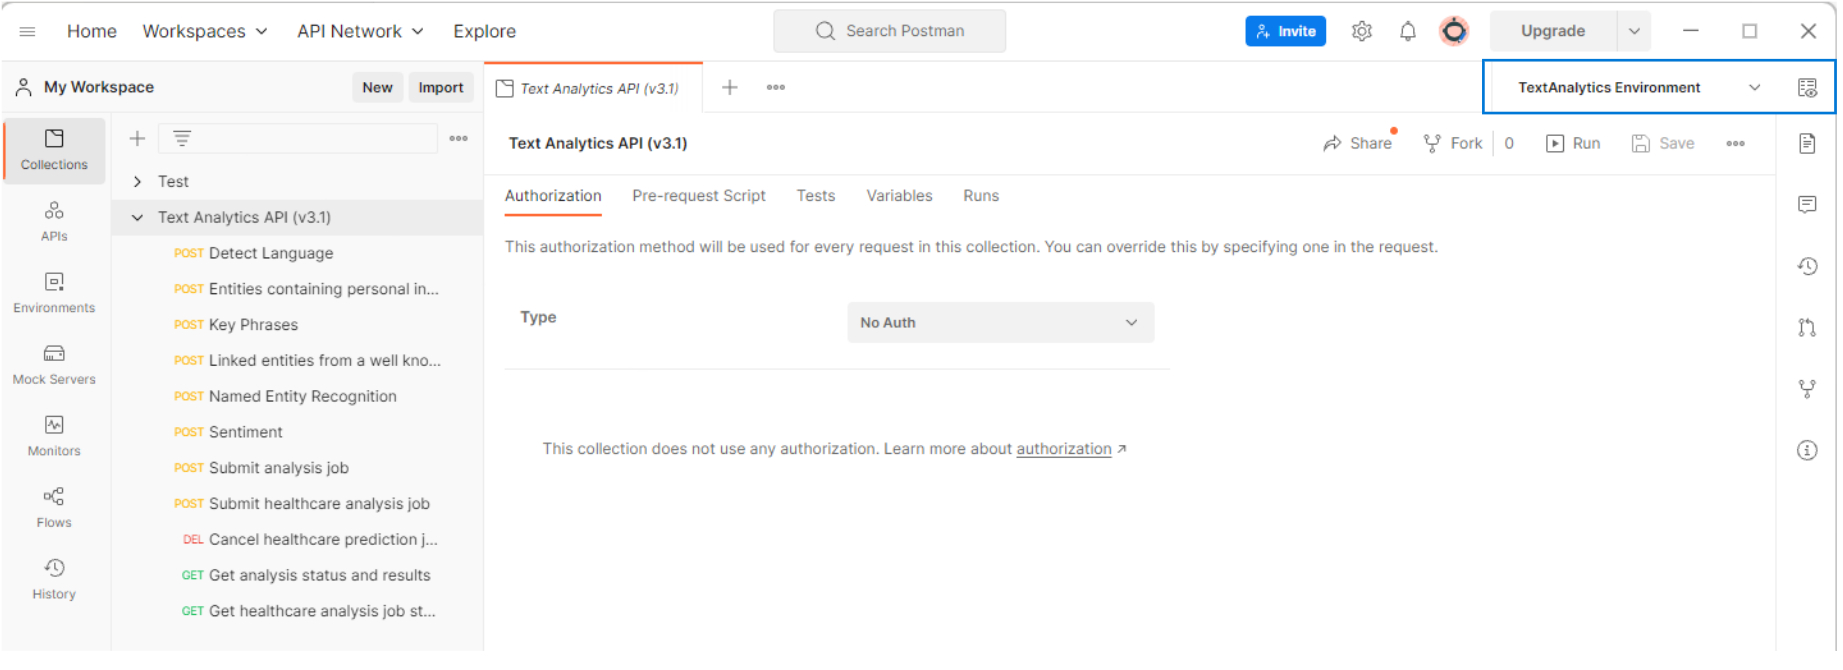
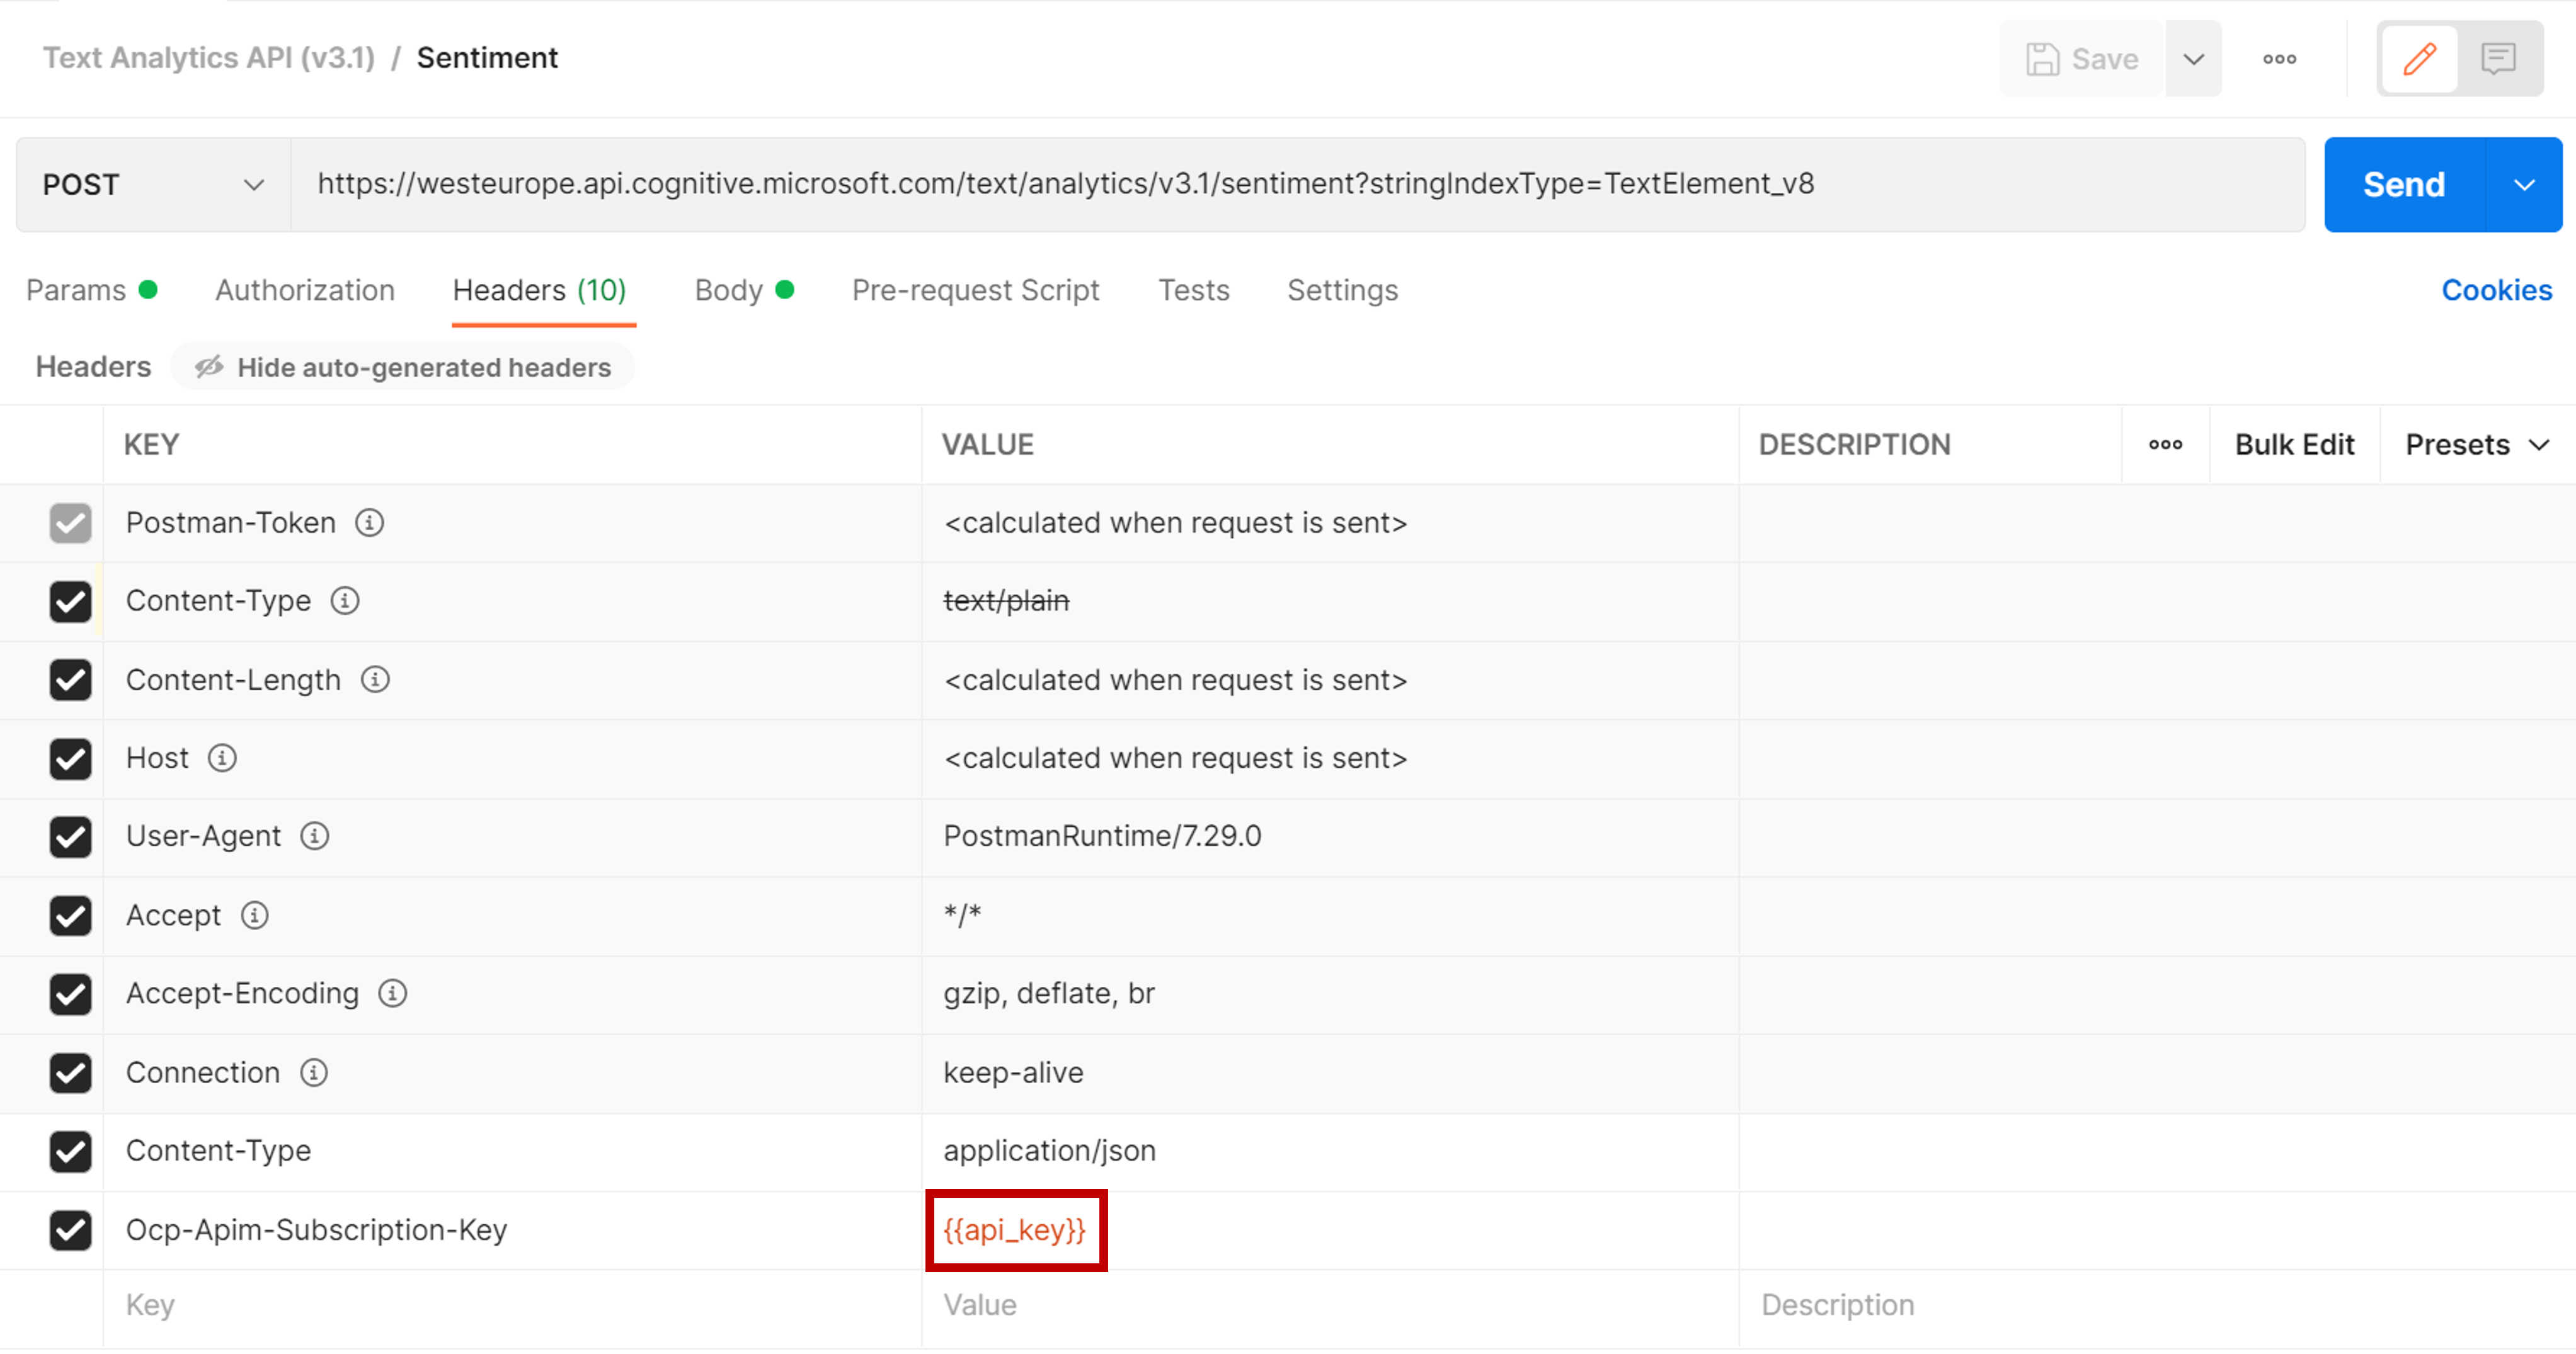
Alternatively, you can replace the Ocp-Apim-Subscription-Key Header value of the given request under the Headers tab of the request with the beforementioned key. Select the POST Sentiment API for a first try.
Now just hit Send right next to the request URL and you will receive a response. Feel free to change the text within the Body and try again.
# Cleanup
Remove the rg-azdc-cognitive resource group:
az group delete -n rg-azdc-cognitive